 by Sunelle |
Last Updated: April 3, 2021
by Sunelle |
Last Updated: April 3, 2021 The first post in this series focused on learning the first basic calligraphy stroke for beginners -the entrance or exist stroke. As mentioned in that post, it is important that when you teach yourself calligraphy, you need to learn the basic calligraphy strokes first as they are the building blocks to calligraphy and everything builds on these strokes. The second stroke to a beginner to calligraphy needs to learn is the underturn stroke, which is what we will learn in this post.
The importance of learning one basic calligraphy stroke at a time
As a beginner calligrapher, it is important to master one basic calligraphy stroke as well as you can before you attempt the next basic calligraphy stroke. Before you attempt the underturn stroke, make sure you are comfortable with the entrance/exit stroke.
What is the underturn stroke in calligraphy?
The underturn stroke in calligraphy is u-shaped. It starts with a thick downstroke and ends with an entrance stroke. The underturn stroke transitions from a downstroke to an upstroke, thereby creating the u-shape.
How easy is the underturn stroke to create?
Beginners often find the understroke tricky to learn. According to more experienced calligraphers, it is an easy stroke because the downstroke gives the calligrapher a lot of control. You won’t know how difficult you will find it until you try. Also remember that all new things are difficult at first, but gets easier with (lots of) practise.
How do you create the underturn stroke?

To create an underturn stroke, you start at the waistline or the ascender, depending on which letter you are creating. Apply hard pressure to your pen to create a downward stroke. This ensures that your downward stroke is nice and thick. Before you get to the baseline, you need to get ready for transitioning to the lightest upward stroke you can create – this is often called a hairline stroke. The point where your downstroke joins the upward stroke should form a u-shape. When you create the upward stroke, make sure your two lines remain parallel to each other. The upward stroke is the entrance stroke we learned about in a previous post.
When do you use the underturn stroke in calligraphy?
The underturn stroke creates several letters, including the lowercase w, u, a and i. You also create an extended underturn stroke when you create other letters, such as the lowercase d and t. With the d and t, the underturn stroke has a taller stem than with the lowercase w, u, a and i. With these letters, the underturn stroke starts at the ascender line but finishes in the same manner as with the other letters.
How to practice the underturn stroke
As with all things calligraphy, the best way to become familiar with and master a stroke is through practice drills. Remember, it is normal to feel shaky when you create your first few practice drills for any calligraphy stroke. And, as always, go as slow as you can – there is no need to rush learning calligraphy. When you do your practice drills, ensure you are holding the pen correctly while creating your downturn stroke.
Do as many practice drills as you can. Try to full a page with pressured downward strokes only. Try to create strokes of a similar size, angle and width. After making a few lines of downward strokes, take a careful look and ask yourself how you can improve your strokes in your next practice drill.
After completing your first page of understroke, try connecting them to each other by lifting your hand without taking a break between strokes. You will find it challenging initially, but then you will develop a rhythm. Note: lift your pen entirely off the page before starting the next stroke. The idea is to draw the strokes, so they appear to be connected, but in actuality, you are creating each stroke individually.
If you mess up a couple of strokes up, don’t give up – keeps going.
What to watch out for when creating an underturn stroke?
Here are some things to watch out for when you create an underturn stroke:
- Although you must apply pressure when creating the underturn stroke, be careful not to press down too hard at the wrong angle, which would result in damage or fraying of your pen’s tip.
- When you start with your first few underturn strokes, your hand may shake a bit. This is because you are not familiar with the underturn stroke. After several drills, you will become more familiar with the stroke, and your shakiness should lessen.
- Beginner calligraphy learners often forget to maintain a 45-degree angle between their pen and the paper when practising calligraphy strokes.
- When you transition from the understroke to the entrance stroke, you need to change the pressure you are applying and move the pen from its side to the tip, which can be challenging for newcomers to calligraphy.
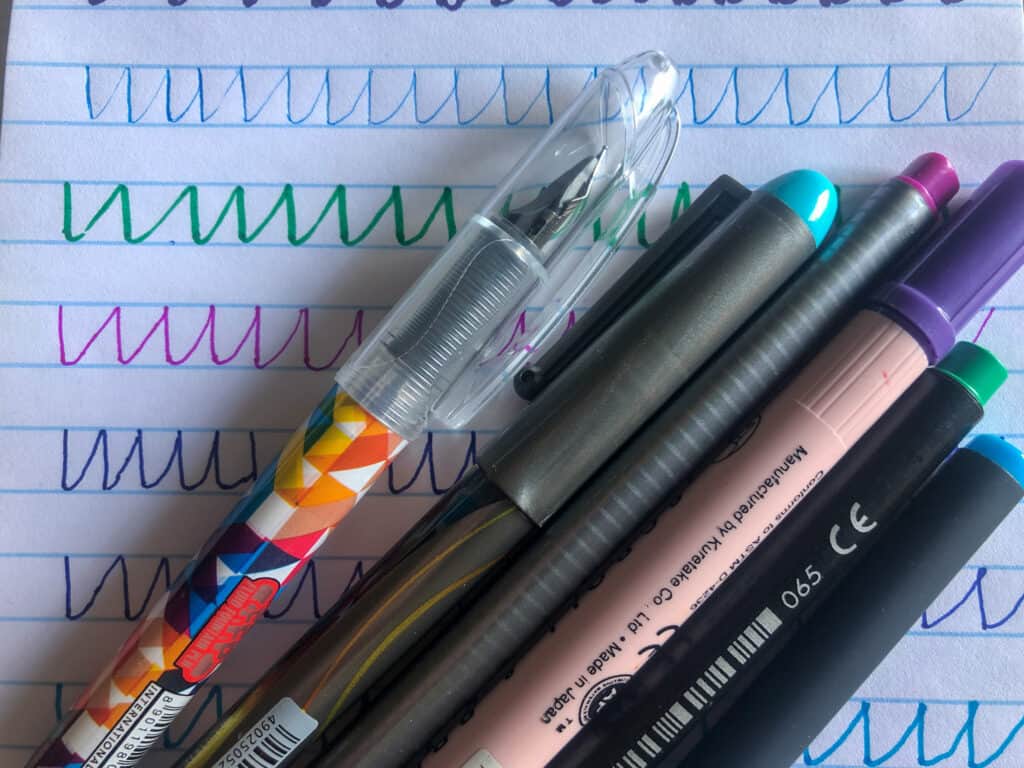
- Try another if you struggle to make the downturn stroke with one pen. The type of pen you use can impact your strokes and it is always a good idea to experiment with different strokes with many different pens until you find one you are comfortable with.
My attempts at practising the underturn stroke
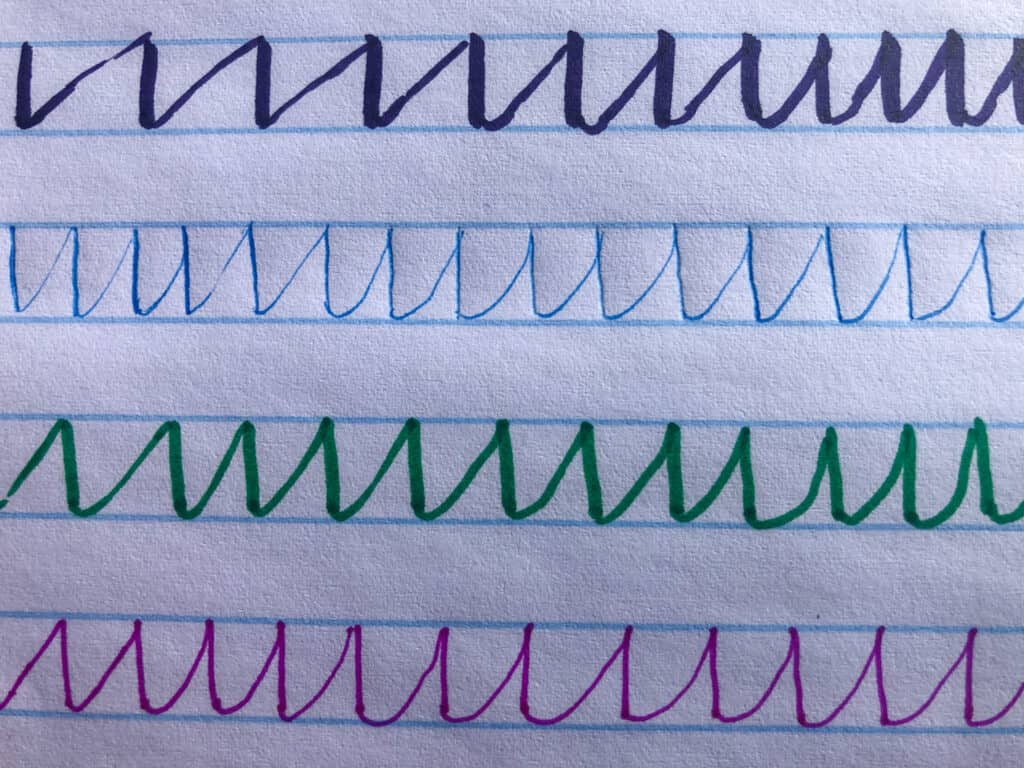
I printed a drill sheet and filled an entire line on the page with thick understrokes. This is not as easy as it sounds! I then attempted to join them to each other, which was even more challenging. Since the type of pen affects one’s strokes, I tried several different pens to see which worked best for me. I found the ballpoint pen the easiest to use and the only one where I could tell the difference in pressure applied in the downstroke vs the upstroke/entrance stroke.
