When you want to teach yourself calligraphy, the first step you can take is to learn the basic calligraphy strokes. The basic calligraphy strokes are the building blocks of calligraphy. Everything builds on the basic strokes, making these basic strokes extremely important to learn before trying fancy calligraphy letters and projects. The first stroke to learn is the entrance/exit stroke, which is the focus of this post.
Beginners should focus on one basic calligraphy stroke a week
I will focus on one of the essential calligraphy strokes to allow me (and you) to practice each stroke before learning the next stroke. You will have mastered the basic calligraphy strokes and be ready for more challenging calligraphy styles and projects before you know it.
What is the entrance stroke in calligraphy?
The first basic calligraphy stroke is the entrance stroke, also called the upward stroke or lead-in stroke. The entrance stroke is the same as the exit stroke. The entrance stroke looks easy to learn, but it takes practice to get thinner, more consistent entrance strokes.
Why is the entrance/exit stroke important?
In calligraphy, the entrance stroke is used to create the beginning of nearly every small (minuscule) letter of the alphabet. In contrast, the exit stroke is used to end every small (minuscule) letter of the alphabet. You need to practice the entrance/exit stroke well before learning other strokes. You can also use the entrance stroke to connect two letters.
How to create the entrance/exit stroke
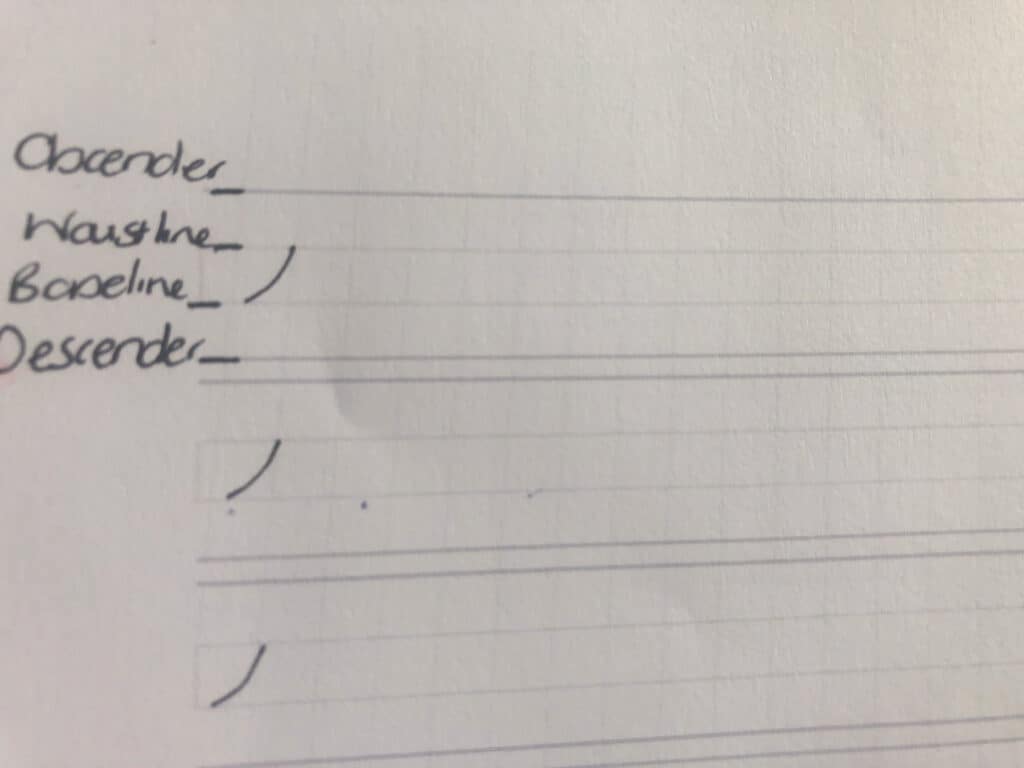
The entrance stroke looks easy but can be quite challenging to learn to apply as little pressure as possible to ensure your stroke is thin. Believe me; it took many drill pages for me to learn to use light pressure for an entrance stroke. The first step is to ensure you are holding your pen correctly. Place the tips of your pen or pencil at your chosen baseline. Keeping your pen at a 45-degree angle to the paper, slowly draw a thin and slightly curved stroke upwards. Don’t apply too much pressure; a light touch between the pen and paper will produce the best results. Your entrance stroke is complete when the tip of your pen reaches the waistline or header. If you use a calligraphy drill page with diagonal lines, your entrance stroke will finish on one of these lines.

Tips for creating the perfect entrance/exit stroke
Follow these tips to create the perfect entrance/exit stroke:
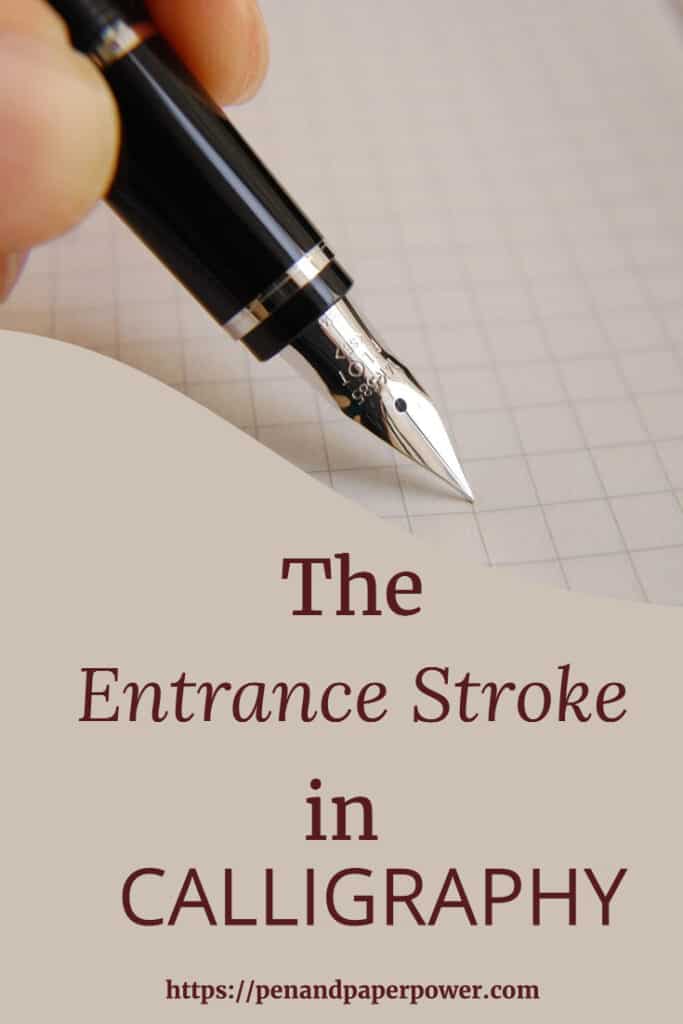
- Remember, you don’t need a calligraphy pen to learn calligraphy. Use whatever you have, whether this is a pencil or a ballpoint pen. You can get better equipment once you have progressed in learning calligraphy.
- When creating an entrance/exit stroke, ensure your line has the same thickness everywhere.
- If you are shaky when you create your entrance or exit stroke, don’t let it stop you from practising. Your hand will become steady as you practice.
- Don’t worry if it is not super-thin when you make your first entrance or exit strokes. As long as your entrance/exit strokes are thinner than your downstrokes, it will still look good. The more you practice, you will get better at creating lighter strokes over time.
- Accept that some strokes will be less than perfect. Just leave them imperfect and make another entrance/exit stroke.
- Your hand may get tired and cramp easily at first. Most of us don’t write by hand anymore, and even a few minutes of writing with a pen or pencil may be tiring. Your hand’s endurance will improve with practice.
- Don’t worry about using expensive paper. Use any paper you have on hand. Just make sure the paper is smooth. Lined or graph paper is easier to use since the lines or grids can guide your stroke formation.
- Don’t rush it. Creating the entrance/exit strokes slowly will make it easier to maintain the light pressure of the pen on the paper.
- The entrance/exit stroke is not a straight line. It must be slightly curved as it moves upwards from the baseline to the waistline.
How I practiced the entrance stroke

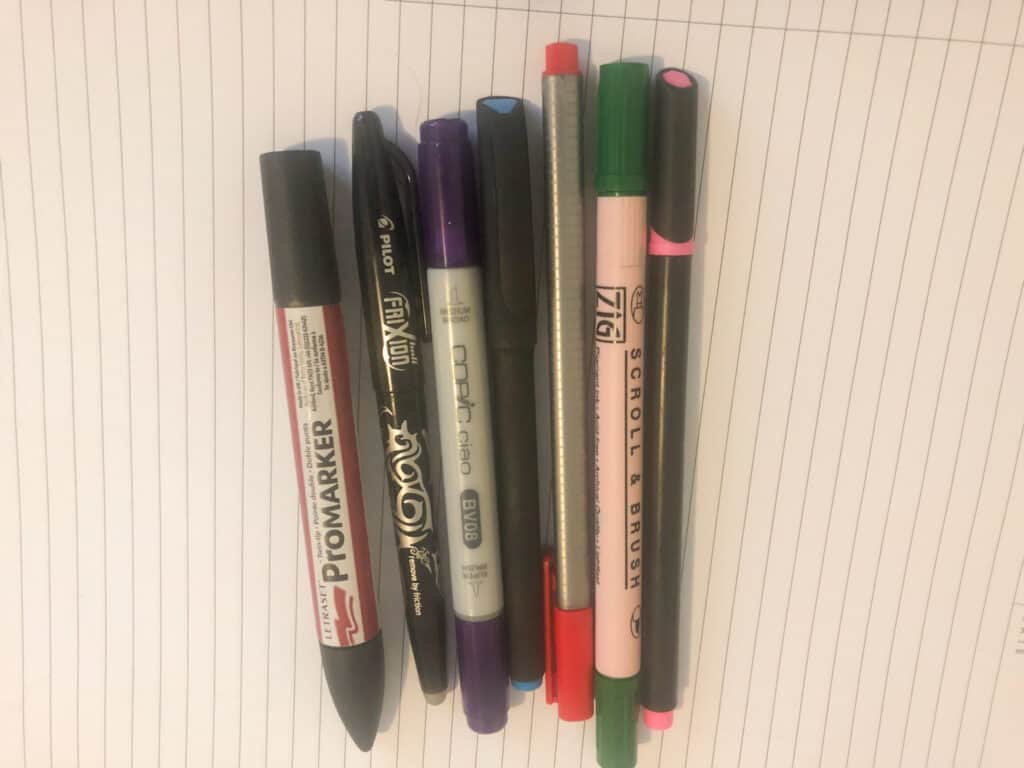
Calligraphy requires a lot of practice drills. I printed a drill sheet and started making entrance strokes using any pen I could find. Doing an entrance stroke with as little pressure as possible is not easy, and I had more than a few thick lines. It definitely will take some time to master the entrance stroke. I also found trying the different pens useful as each pen is different and requires less pressure to make a lighter entrance stroke. In the end, I found the “firm” brush pens the easiest to use.

How to practice the entrance stroke
If you want to teach yourself calligraphy, you need to practice the entrance stroke by drilling and using the tips given above. You can download your own entrance stroke drill sheet by signing up for my mailing list. It’s all free!

